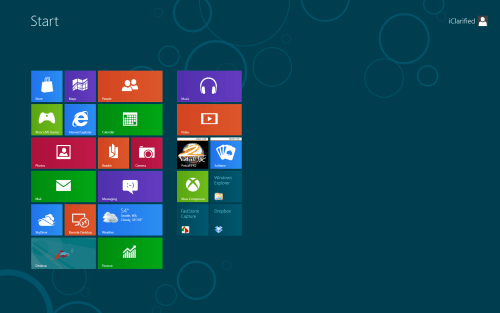
These are instructions on how to install Windows 8 Consumer Preview on your Mac using Boot Camp.
Before you begin this tutorial you will need the Windows 8 Consumer Preview ISO and Product Key. Those of you with a DVD burner will need to burn this ISO to DVD before continuing. Those of you (like us) without a DVD drive will need to connect a blank 8GB USB flash drive before beginning.
Step One
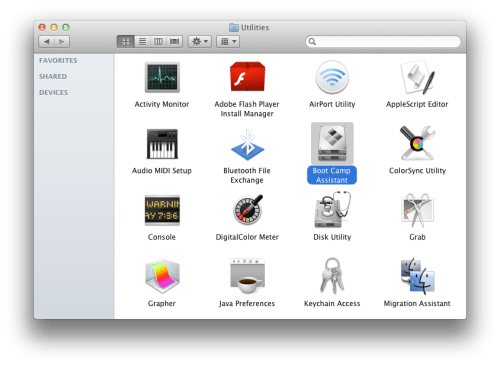
Open a new Finder window by clicking the Finder icon in your dock.
Step Two
Navigate to the Applications : Utilities folder and double click the Boot Camp Assistant icon to launch the application.
Step Three
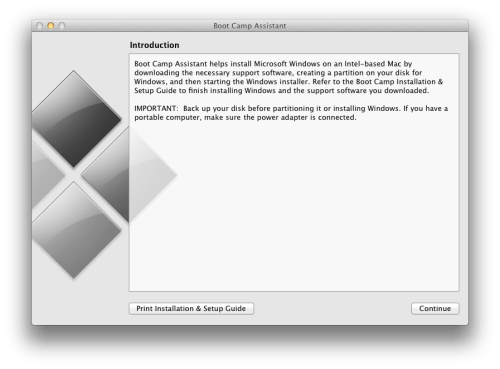
The Boot Camp Assistant will open. Click the Continue button.
Step Four
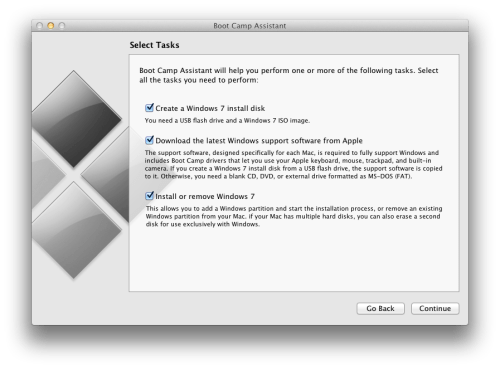
You will now be asked to select from a series of tasks. Leave all 3 tasks selected and click Continue.
Step Five
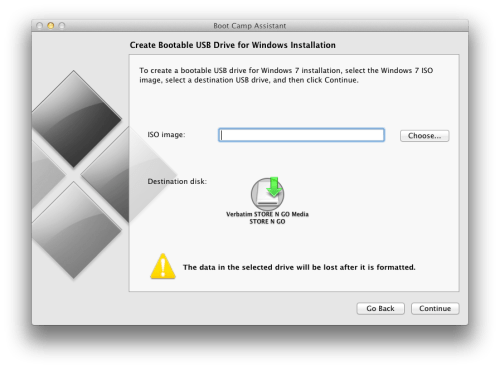
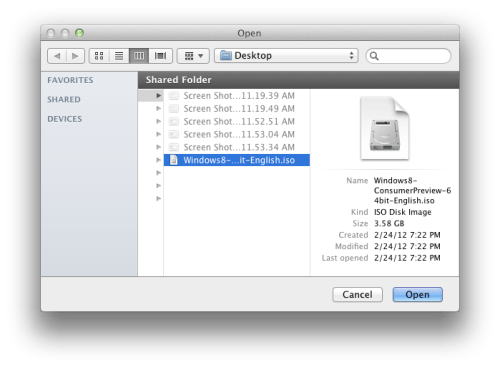
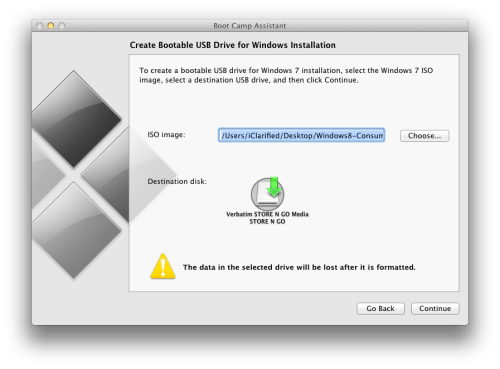
Click the Choose button, select the ISO you just downloaded, and click Open.
Make sure the correct USB flash drive is set as the destination disk and click the Continue button.
Step Six
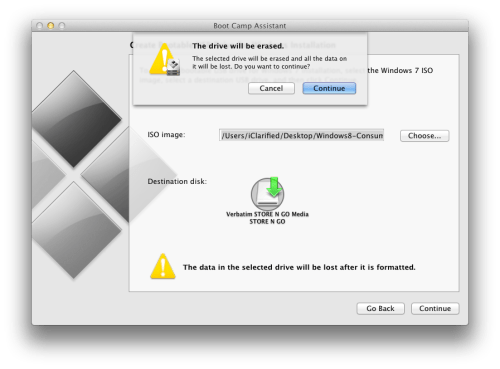
You will be warned that the drive will be erased. Click Continue.
Step Seven
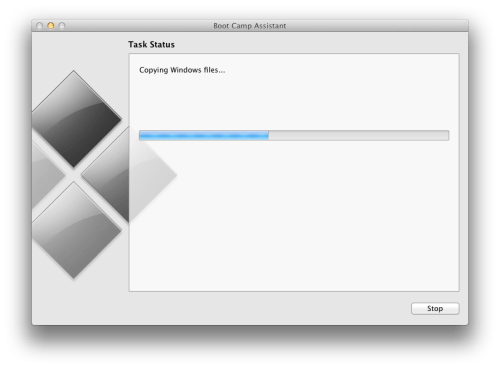
Boot Camp Assistant will now copy the Windows files to the USB flash drive.
Step Eight
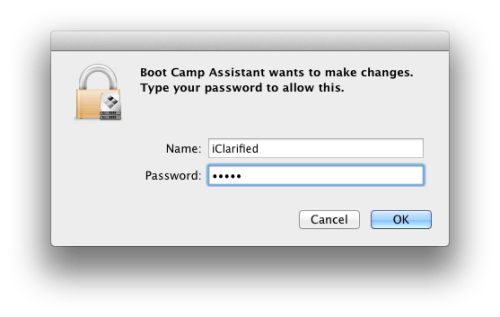
You will be asked to enter your Administrative username and password. Do this, then click the OK button.
Step Nine
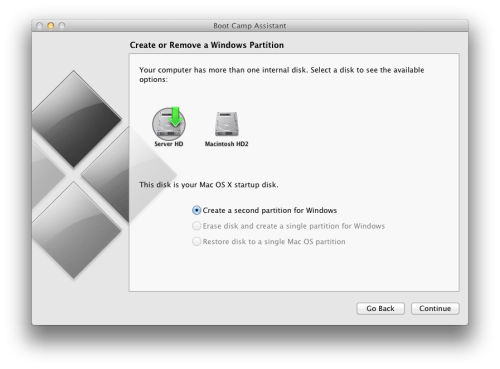
If you have more than one hard drive, you will be asked to select which system hard drive you would like to partition for Windows. Choose the correct hard drive and click the Continue button.
Step Ten
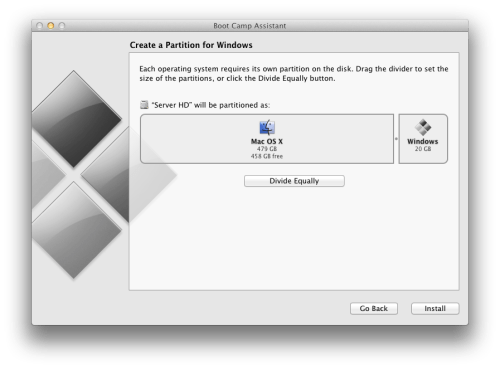
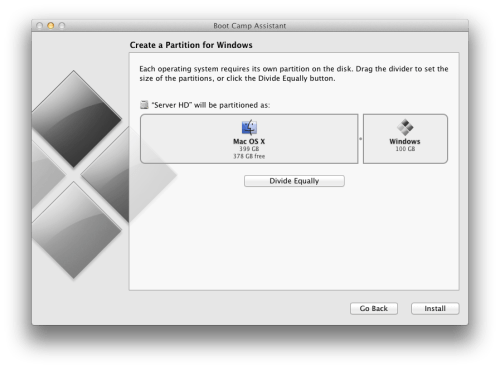
You will now be asked to Create a Partition for Windows. You can drag the divider to set the size of the partitions.
When satisfied with the size of your partition click the Install button.
Step Eleven
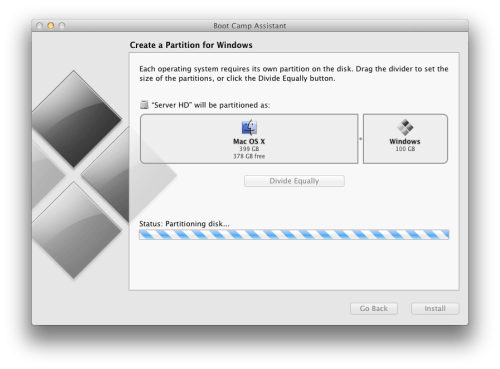
Boot Camp Assistant will now partition your disk.
Step Twelve
Once the partition has been completed your computer will automatically be restarted and launch Windows setup from the USB flash drive.
Step Thirteen
Proceed through the Windows setup.
When asked whether to do a Upgrade or Custom (advanced) install, choose Custom (advanced).
When asked "Where do you want to install Windows?" select the partition labelled BOOTCAMP. Next click Drive Options then click Format. Click OK to confirm format and click Next to continue the installation.
Step Fourteen
Once installation has completed successfully, click the Windows Explorer tile.
Step Fifteen
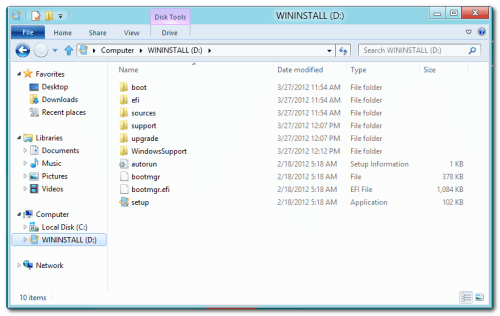
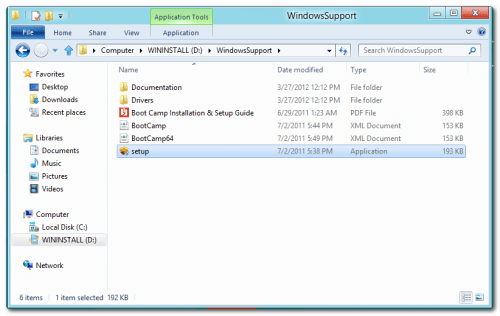
Select the WININSTALL USB flash drive from the list of devices under Computer and double click the WindowsSupport folder to open it.
Step Sixteen
Double click setup to launch the executable.
Step Seventeen
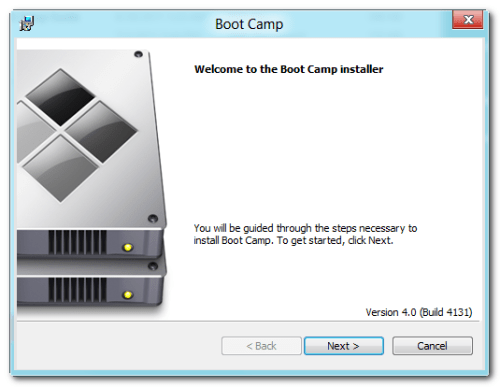
The Boot Camp Installer will appear to guide you through the steps necessary to install Boot Camp. Click the Next button to get started.
Step Eighteen
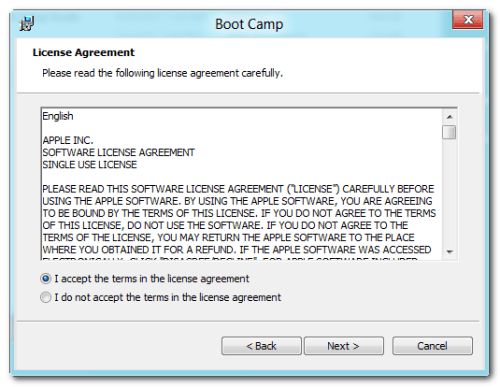
Read the license agreement, select I accept the terms in the license agreement, then click the Next button to continue.
Step Nineteen
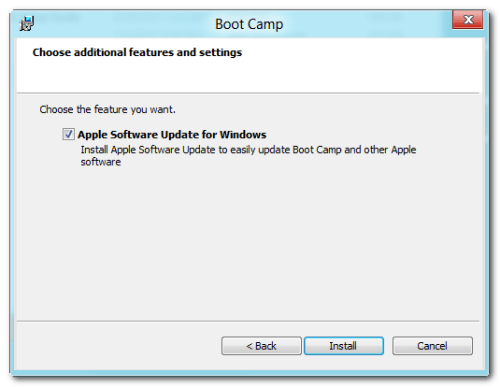
Choose whether you would like to install Apple Software Update for Windows then click the Install button.
Step Twenty
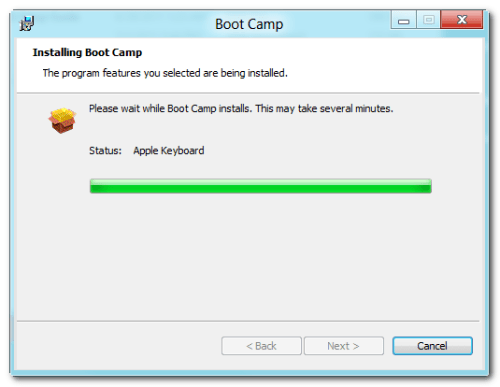
Boot Camp will proceed to install the drivers necessary for your Mac to work properly with Windows.
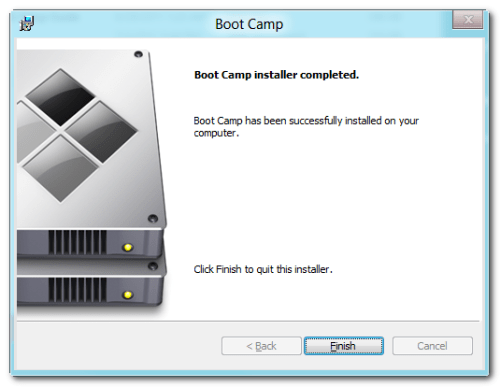
When the installation has completed click the Finish button.
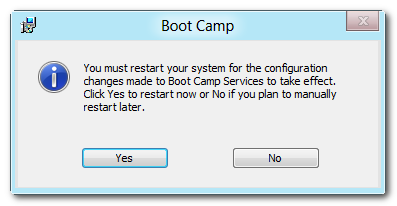
You will then be prompted to restart your system for the configuration changes to take effect. Click the Yes button.
Step Twenty One
Once your system has restarted you will have successfully installed Windows 8 on your Mac using Boot Camp.


No comments:
Post a Comment